How To Sew A Pillow (Using Scrap Fabric)

And alas, we are covering the ultimate sewing project for beginners: How to sew a pillow! But with a bit of a twist. Our pillow is a patchwork pillow, made using 100% scrap fabric & stuffing. Reduce, reuse, recycle babe.
I have been on a bit of a kick lately with slowly dwindling the leftover fabric in my giant fabric box. (Because we all have one, right?) And I have been trying to use that leftover scrap fabric for our monthly sewing projects, rather than going out and buying all new, as much as possible.
If you'll recall.. I used 100% scrap fabric for the Naoko Tank & the Tartt Racerback. And also for our very first DIY sewing tutorial on how to make a shower cap. All excellent sewing projects (IMHO) that I was really excited to not have to buy new fabric for.
Don't get me wrong.. I LOVE buying new fabric. But I also LOVE less clutter. (Potentially even more than buying new fabric.) Which is why I am going to continue trying to find projects that I can use all of my scrap fabric for.

Which brings us to this week's post on how to sew a pillow.
Learning how to sew a pillow is pretty much the first sewing project for beginners in any type of sewing class. Why? Because it is SO EASY.

And not only is it easy, but it's a quick project that's hard to mess up. And you end up with a cute pillow in the end! Who doesn't love pillows? No one. Everyone loves pillows. Give me all the pillows.
But because I love pillows so much, I have a ton. And I really didn't need just another boring, regular ol' pillowcase. No, no, no.
(Not sure where to start when it comes to sewing? Building your own sewing kit is an excellent place to begin. Get your complete beginner’s guide!)
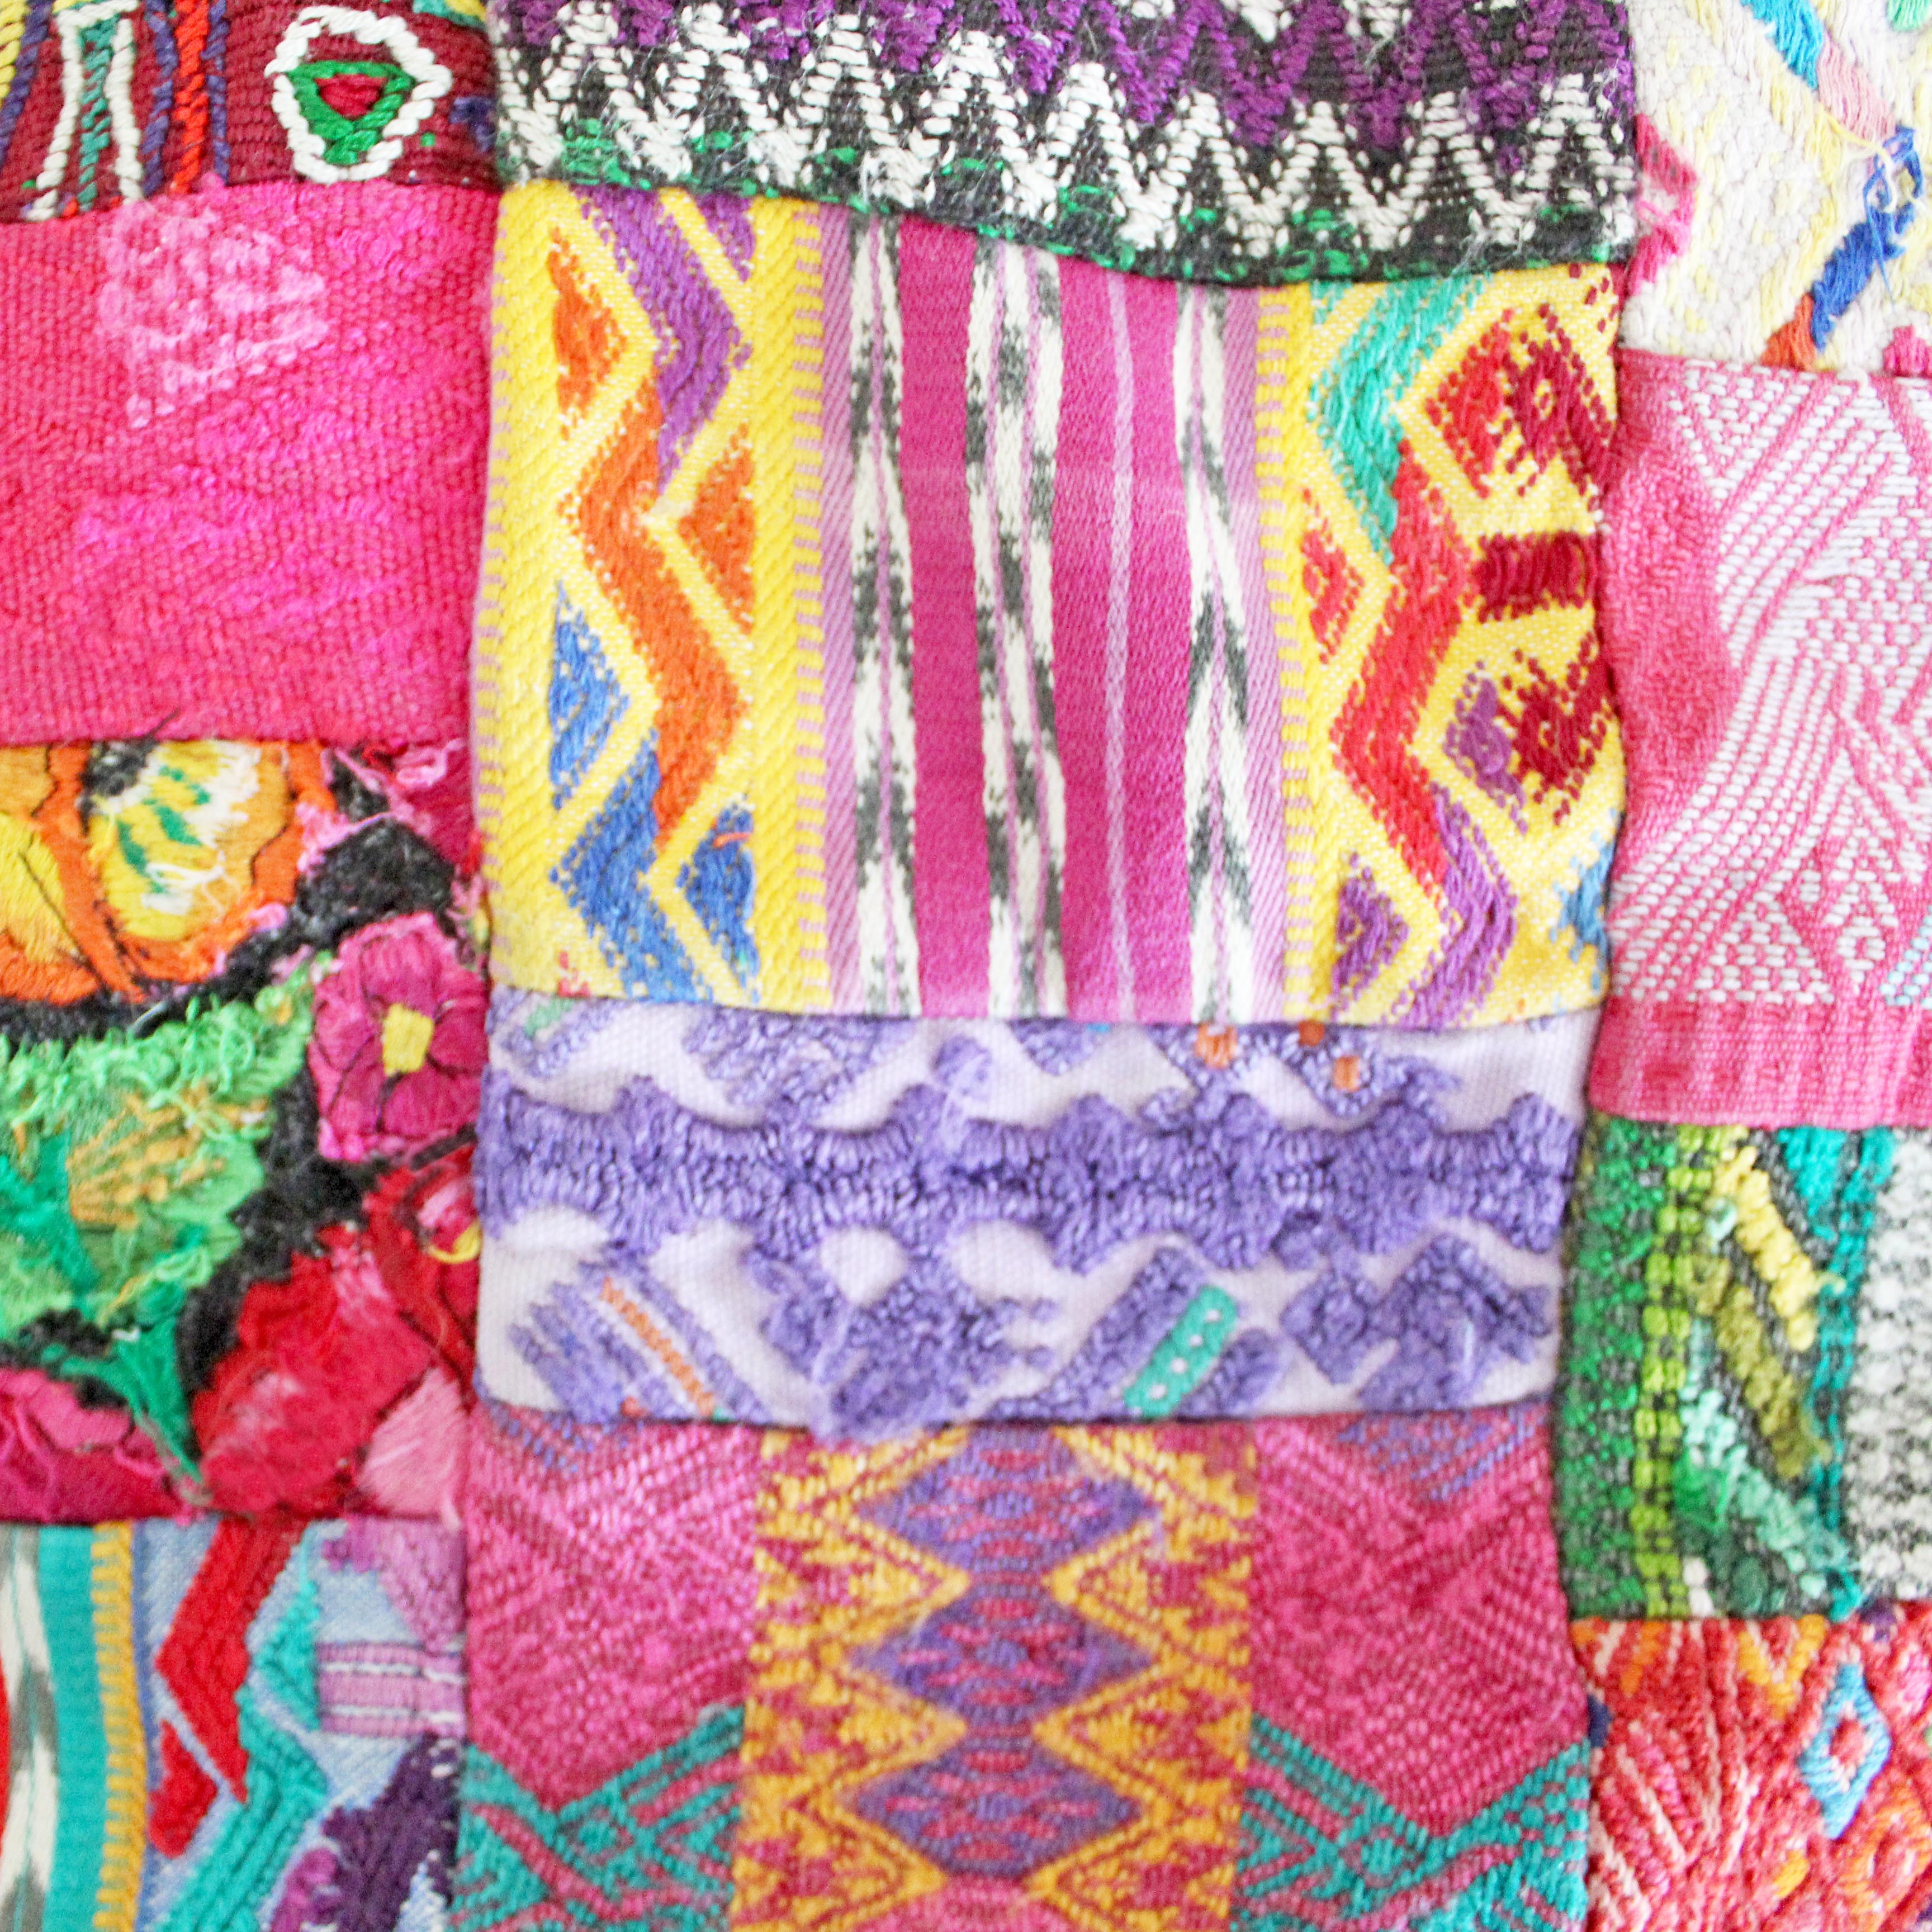
I was actually inspired to make my own patchwork pillow by one my husband & I had purchased while on our honeymoon in Guatemala. While staying on Lake Atitlan, we decided to take a day trip to the Chi Chi Market.
The Chi Chi Market is this MASSIVE marketplace filled with everything you can imagine: Textiles, jewelry, food, pottery.. Everything. And it was all incredibly beautiful.

We ended up with this incredible patchwork pillowcase, filled with hand embroidery. I absolutely love the pillowcase.. It's bright, unique, & beautiful.
And it sits right on our living room sofa, being cute & delightful. I always get compliments on this beautiful pillow, so I decided..

Kind of keeping on with the life theme that I mentioned last week with the DIY laundry soap post.. All about shifting that mindset from "I can just go buy another" to "Hey, I think I can make that!"
(Literally my life goal to get you guys thinking like that.)
Now.. I'm not going to hand embroider every little patch on this pillow. (That's a whole other tutorial. One that I would need to teach myself first.) And hand embroidering a pillow is a MUCH longer process than just sewing one up.

So. With this post, I am going to tell you about how I sewed up my own replica patchwork pillow.
(By the way.. Would you guys be interested in an actual step-by-step DIY tutorial on how to sew up your own patchwork pillow? Because I can totally put one together.. Just let me know!)
(Not sure where to start when it comes to sewing? Building your own sewing kit is an excellent place to begin. Get your complete beginner’s guide!)
How to sew a pillow: The supplies
I really didn't need too many supplies for this project. And thankfully, I already had all of them! (Love when that happens, my goodness. Because it hardly ever does.)
I don't have exact yardage measurements for the fabric, since they were all just cut up scraps leftover from other projects.

But I still hope this gives you a good idea of what is needed for a patchwork pillow:
- Inner pillow fabric: I used a lightweight white knit for the inner pillow. Because my finished pillow is 19" x 19", this fabric just needed to be big enough to cut two 20" squares.
- Pillow stuffing: I used leftover pillow stuffing from an overstuffed pillow. (See below!) The stuffing filled up an entire reusable tote bag, so it was quite a bit.
- Outer pillowcase backing: I used a lightweight cotton sheeting for the backing of the pillow. As I mentioned above, because my finished pillow it 19" x 19", this fabric just needed to be big enough to cut one 20" square.
- Patchwork pillow squares: I used four different types of fabric scraps for the patchwork grid. All are different textures & colors, but also fit together well.
- Invisible zipper: I used an invisible zipper to close off the bottom of the pillow. My Guatemala pillow closed up with a center back zipper.. But I figured sewing a bottom invisible zipper would be a bit easier. And it was!
Overall, not too many supplies were needed to make my sweet little patchwork babe. And I guarantee you have them all at home too!
(Not sure where to start when it comes to sewing? Building your own sewing kit is an excellent place to begin. Get your complete beginner’s guide!)
How to sew a pillow: The inner pillow
I'm not sure what else to call the pillow itself besides "the inner pillow". (Am I right? Like, what do you call that?)
Anyways. Not only did I make the patchwork pillowcase from scratch (& scraps!) but I also made the inner pillow from scraps.
My husband & I bought a new bed a few months back (much needed) which came with a few pillows. There was too much stuffing for my husband in his pillow, so he took about half of it out. #psycho
My point is.. I now had a giant bag filled with pillow stuffing.

Because it made a damn comfy pillow. So I saved it, adding to my giant fabric box.
(And TBH, getting rid of this big bag of pillow fluff was my main motivation behind this post on how to sew a pillow.)

So. I sewed up three sides of the white knit inner pillow fabric, turned it right side out, and filled it to the brim with the leftover pillow stuffing.
And BTW.. You can use whatever you want to fill up a pillow. It could be regular poly fluff (like that used for dog toys), feathers (although I don't entirely agree with that), or leftover pillow stuffing (like mine!).
I'm pretty sure that the pillow stuffing I used was just recycled mattress material.. It looks like they threw a foam mattress in a big ass grinder, and out came the pillow stuffing. Not entirely sure if that's the case.. But that's what it looks like.
Anyways. After I stuffed the pillow to the brim, I folded the final seam inwards, and sewed it up. And with that, I had a finished inner pillow!
(Not sure where to start when it comes to sewing? Building your own sewing kit is an excellent place to begin. Get your complete beginner’s guide!)
How to sew a pillow: The patchwork grid
Sewing up the patchwork grid for the pillow definitely took the longest amount of time.. But it was also the most fun!
Originally, I had just planned on drawing all of my squares straight on the fabric and then cutting it out. And kind of just winging it. But after a few squares, I decided that was way too much work. And would take way too long.
So I decided to draw up my own little grid. I drew out the columns, squares, and wrote out the measurements for each square. Then I colored the squares in with which color I wanted the final fabric for that particular patch to be. Make sense?

I drew the pre-measured squares out on pattern paper, as well as how many of each color I needed to cut out per square.
I went square by square, cutting out rough patches of fabric, color by color. (Think: If I needed 2 yellow squares for the 5.5" x 3" square, then I roughly cut out 2 squares of yellow fabric.)
And so on, for each square & color.

Once I had all of the rough patches cut out, I pinned the paper pattern to the stack of fabric, and cut them out properly.
With all of the pieces cut out, I followed my little grid drawing and pinned all of the squares in a row together. Then I sewed them up!
With all of the individual rows sewn together, I pressed each seam flat. I then sewed the rows together, to form one giant patchwork square, also pressing those seams flat.
And with that, I had a giant patchwork fabric grid!
(Not sure where to start when it comes to sewing? Building your own sewing kit is an excellent place to begin. Get your complete beginner’s guide!)
How to sew a pillow: The pillowcase
With the patchwork grid finished up, it was pretty much just finishing touches afterwards.
I pinned the back of the pillowcase to the patchwork grid, right side to right side. And since I decided to close the pillow up with an invisible zipper, I only pinned & sewed three sides of the pillow at this point.

With the front and back of the pillow attached, I then sewed in the invisible zipper.
(Not sure how to sew an invisible zipper? No worries, my friend. We covered how to do just that in our very first sewing tutorial. The steps are essentially the same.)

But it really could be sewn in on ANY side of the pillow. (It is a square, after all.)
My only recommendation here (if making your own pillow) would be to make sure you can fit the pillow INSIDE the pillowcase before fully sewing in the zipper and finishing off the pillow. Because if the pillow doesn't fit inside the pillowcase.. Something's wrong.
And you would have to rip either the zipper or a side seam out.. And no one wants to do that. Just make sure everything fits before finishing the pillowcase up, and you'll be golden.
(Not sure where to start when it comes to sewing? Building your own sewing kit is an excellent place to begin. Get your complete beginner’s guide!)
How to sew a pillow: Are you in?
And that's it! With the pillowcase finished off, I inserted the pillow inside, and zipped it up. And now it's sitting on my sofa with it's sweet Guatemalan sister.
It really is that simple. Kind of crazy, right?

My own sister was over while I sewed up this project (& we were chit chatting, obvi) so it might have taken me slightly longer to sew up than it would have had I been alone.. But I got this baby done (from start to finish) in about 5 hours.
And that's INCLUDING taking photos as I went along. Also, I'm an incredibly slow sewer.

It is one of my biggest pet peeves. So. Theoretically, if you are sewing at home alone at a decent pace, there is no reason why you wouldn't be able to sew up your very own patchwork pillow in an afternoon. Or even just a few hours, really.
And this pillow is just so damn cute, am I right?! I think I know what my entire family is getting for Christmas this year.. DIY patchwork pillows that will use up the rest of the scraps in my fabric box. #winning
So. Would you guys like an actual step-by-step tutorial on how to sew a pillow? I could even scan in my own square pattern pieces, if you're interested in making the same exact pillow..
Just let me know below! And I can definitely get started on that. Until next time!
(Not sure where to start when it comes to sewing? Building your own sewing kit is an excellent place to begin. Get your complete beginner’s guide!)


