How To Organize My Sewing Space: DIY Fabric Storage Boxes

Just in time for Spring cleaning and quarantining (ha) we have a brand new post up on organizing your sewing space! This week, we are talking all about DIY fabric storage boxes.
In case you want to go on a beautiful DIY organizing spree (sometimes it just hits you, you know) we actually have a few posts in the series on how to clean up your sewing space:
- DIY Sewing Table: This post walks you through my most important organizational tool--My sewing table. I actually just redid the post a few weeks back, now complete with a shopping list for making your own table. (DO IT)
- DIY Thread Box: Because nobody likes a bag full of tangled thread. Our DIY thread box took one trip to Michael's, and about a day of work. So worth it!
- DIY Pattern Cards: For organizing your sewing patterns. Just fill it out, print it, and tape it to the front of a manila envelope to keep all of your individual sewing patterns beautifully organized.
And now we can add DIY fabric storages boxes to the list of projects on organizing your sewing space! So, let's get started, shall we?
(Another excellent way to organize your sewing space? By building your own sewing kit! Our step-by-step guides walks you through both the essential and not-quite-as-essential tools, and of course how to keep it all organized.)
First, should you DIY or buy?

Initially, when I decided to make these DIY fabric storage boxes, I thought it would be pretty easy. And quick. Like, I actually thought I could finish the project up in a day or two. As you can probably guess, that most definitely didn't happen.
It took me a solid week (maybe 10 days? I lost track) to finish up with my boxes and baskets.
So lesson #1 to keep in mind who it comes to DIY fabric storage boxes: It takes time. (Which a lot of people DO have right now. But still, just keep in mind.)
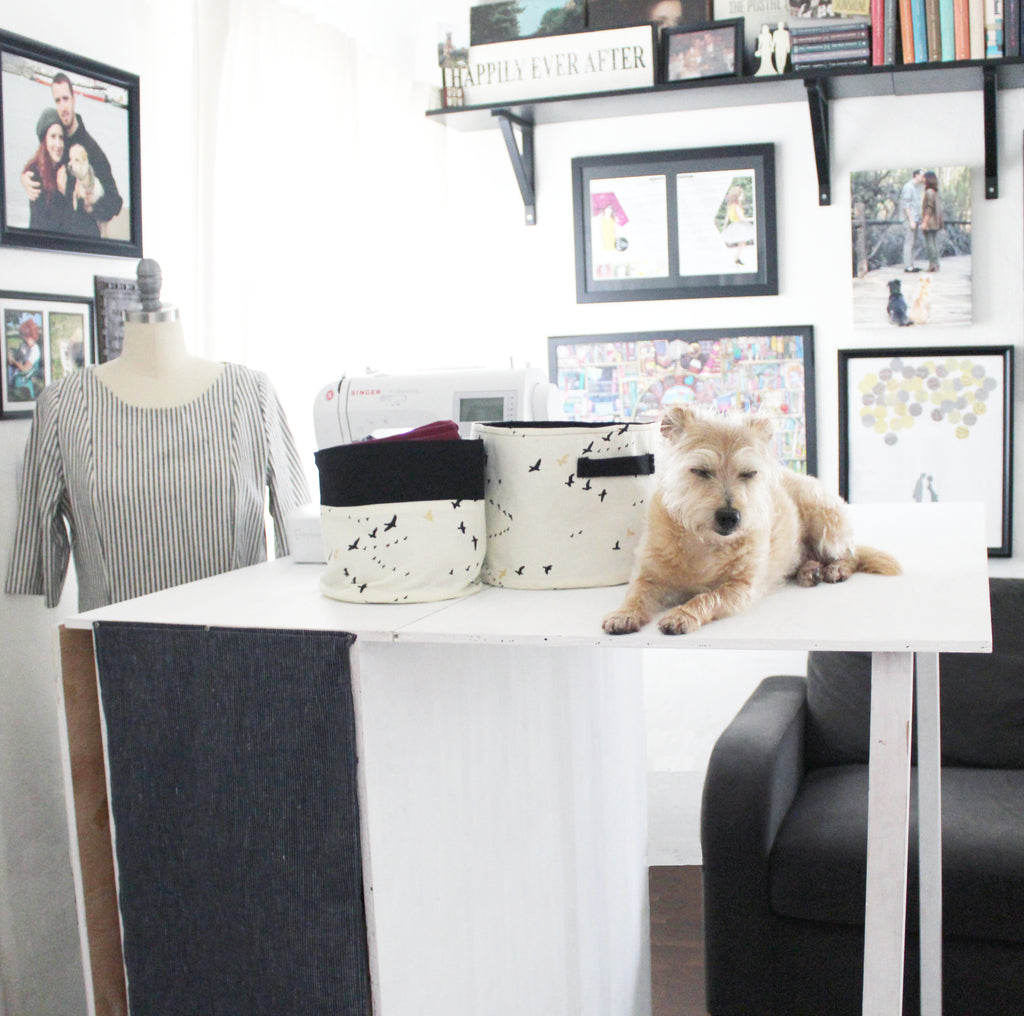
What did appeal to me, and ultimately why I decided to make my own DIY fabric storage boxes, was the fact that I could customize the sizes of my boxes.
My sewing table is organized a certain way, so in order to fit everything I needed to in it, I needed both my storage boxes and baskets to be sized accordingly.

(Which, looking back, I almost wish I hadn't used--I could have used the fabric for our handmade face masks.) But alas, at the time, the idea of using up excess fabric scraps just sitting in my sewing box was VERY appealing. (As I'm sure you can relate!)
And while I will ALWAYS promote DIY'ing a project, I'm actually a bit on the fence with this one. One, it took WAY longer than I anticipated. Two, the boxes and baskets didn't turn out quite as well as I would have liked. And three, it was also way more difficult than I expected.
So, DIY or buy? I would say if you have a ton of extra fabric, a lot of extra interfacing, and an excess amount of time and patience.. Go for it. But if the answer for any of those prerequisites is no.. Then I would consider just putting in the research and finding the storage boxes & baskets you need online.
(Another excellent way to organize your sewing space? By building your own sewing kit! Our step-by-step guides walks you through both the essential and not-quite-as-essential tools, and of course how to keep it all organized.)
What you'll need to make DIY fabric storage boxes


As I mentioned above, I needed storage boxes and baskets for very specific reasons. I needed one box for TFM sewing patterns, but then another for my (much smaller) traditional sewing patterns. (i.e. Simplicity, McCall's, etc.)
Both were for storing sewing patterns, but needed to be very different sizes.
To start, I recommend listing out everything you need a storage basket or box for. Then get a general idea on how big it needs to be.
Once you have your list and the corresponding measurements, write out every piece that needs to be cut for the individual box. For DIY fabric storage boxes that includes:
- The four individual sides that make up the box. (For both the inside and outside--Think of it like a self and a lining.)
- The bottom of the box. (Again, for both the inside and outside.)
- Any handles that will be attached to the box. (Most likely two for each side!)
- All of the pieces that need fusible interfacing.
For the fusible interfacing, I only fused the "self" of my boxes. But I really, really wish I had fused both the self and the lining of the box. The fabric I chose to use just wasn't quite stiff enough to hold up to one layer of fusible, and would have benefitted immensely from an additional layer.
(Another excellent way to organize your sewing space? By building your own sewing kit! Our step-by-step guides walks you through both the essential and not-quite-as-essential tools, and of course how to keep it all organized.) 
Once you know exactly how many boxes to create (and subsequently how much fabric you will need) there are really only a few things needed to get started with cutting and sewing the DIY fabric storage boxes. That includes:
- Fabric: The stiffer the fabric you can find, the better. My fabric wasn't really all that stiff.. And ultimately, it showed in the end. (If you need help on picking out which fabric to use, check out our comprehensive fabric guide.)
- Fusible Interfacing: This is to help hold up the fabric, so that it doesn't droop down.
- Thread: Because you can't sew up a project without thread. (Any cotton or poly thread should do, but it really just depends on the fabric you choose to use.)
- Ruler: To help draw out the individual boxes on the fabric. (In straight, even lines)
- Scissors: To cut out all of the individual pieces that make up the fabric boxes.
- Iron & Ironing Board: Essential in pressing the fusible to the back side of the fabric.
And I honestly think that was about it.. All are tools and materials you might even be able to find in your sewing box RIGHT now. So, let's get started, shall we?
(Another excellent way to organize your sewing space? By building your own sewing kit! Our step-by-step guides walks you through both the essential and not-quite-as-essential tools, and of course how to keep it all organized.)
How to make DIY fabric storage boxes

As mentioned above--I highly recommend listing out all of the pieces needed for the individual boxes, as well as the measurements. This helps ensure everything is cut out right, the first time.
I chose to just directly draw the individual pieces that make up the DIY fabric storage boxes right onto the fabric.
Now, I do not recommend doing this for clothing--But since we are working with simple squares and rectangles here, I think it's fine. (It also helps save fabric and reduce waste, which is always a bonus!)
So yes--On the wrong side of the fabric, simply draw the pieces out, and cut. Do this for all of the pieces, for both the fabric and fusible interfacing. Then, once everything is cut, press the fusible interfacing to the wrong side of the individual fabric pieces.

Then repeat the process with the "lining"--Both separately. Once each of the individual boxes are sewn together, attach the two together.
What seemed to work best for me was to pin the seam allowances of the bottom of the boxes together. Stitch a section of the seam allowances together (not quite the entire thing) on all four sides of the bottom, securing the self and lining together.
Next, pin the seam allowances of the top of the box (both the self and the lining) together, then topstitch closed. I also pinched each corner of the boxes, and stitched them together, about 1" down the length of the box.
This helped to keep the box a bit stiffer--A major bonus! If attaching handles (highly recommended) I would then topstitch the handles to opposite sides of the box. Press flat (with starch) and with that you have yourself a DIY fabric storage box!
(Another excellent way to organize your sewing space? By building your own sewing kit! Our step-by-step guides walks you through both the essential and not-quite-as-essential tools, and of course how to keep it all organized.)
Ready to make your own DIY boxes?

Now, that doesn't sound too complicated, am I right? While the steps themselves are relatively simple.. It's still a process.
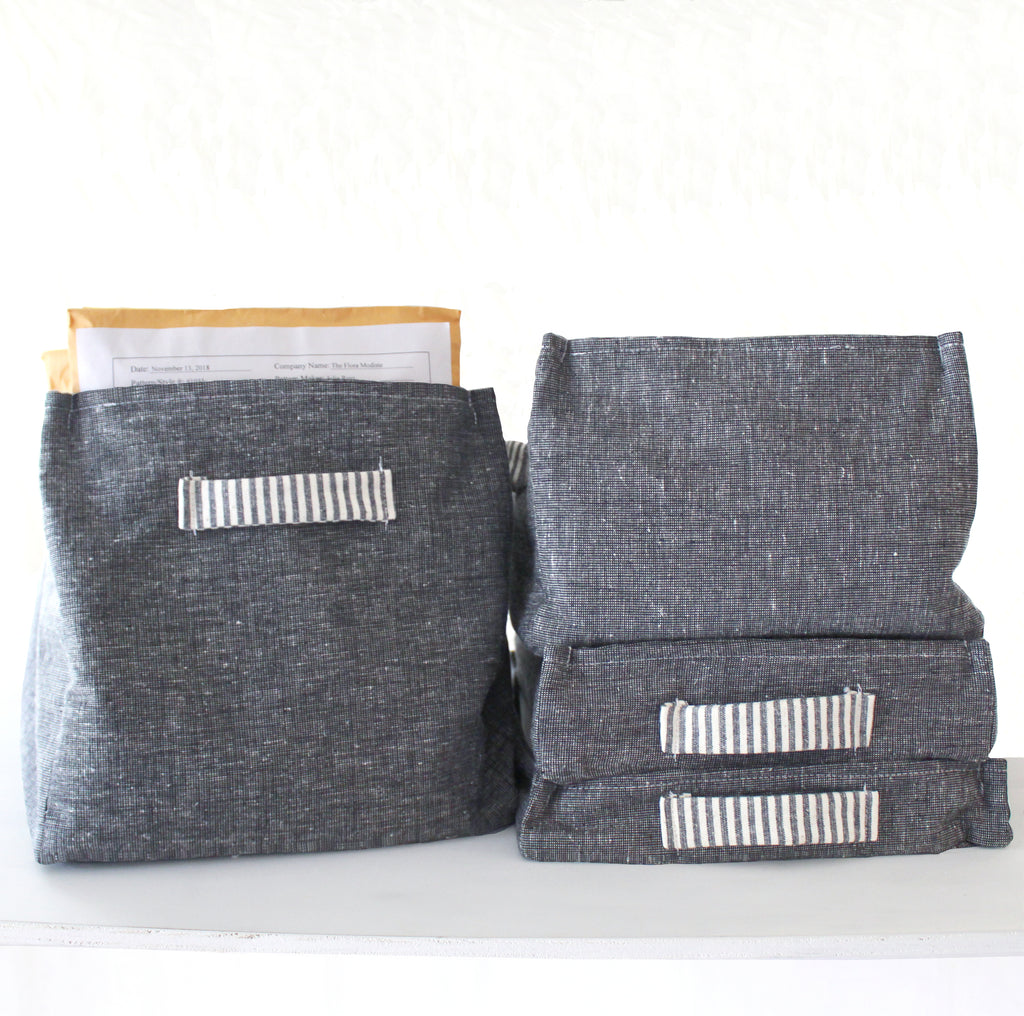
And I made 5 different sized boxes, with 3 different sized baskets.. So yah, it took me quite a while--Not only to cut everything out, but then to get it all pressed and sewn together.
If sewing DIY baskets (rather than boxes) the process is essentially the same. You're just cutting and sewing a different shape. And I actually found the baskets to work better than the boxes--I'm not sure if it's the materials I used, or just the overall shape..
But I am a WAY bigger fan of the DIY basket than I am of the DIY box.

I am actually really glad it's done, and that I did it. When I was rewriting the post on my DIY sewing table, I decided to go through and completely reorganize it. Which meant going through all of my patterns, all of my materials, and all of my tools.
So now, not only are all of my materials organized beautifully.. But they are also organized in an efficient way that uses up ALL of the possible space in that table. Which definitely probably wouldn't have been possible if I had just tried to buy the storage boxes online.
But again, it just depends on what you're trying to accomplish. If you are looking for a quick, easy way to organize your sewing space--Just buy the boxes. But if you have the time, the resources, and the need to organize a very small, particular space.. You can always go the DIY route, which I never really find disappointing. Even if the project isn't perfect, and even if it took way longer than expected.
Scratch that--Especially if the project isn't perfect, and especially if it took way longer than expected.
(Another excellent way to organize your sewing space? By building your own sewing kit! Our step-by-step guides walks you through both the essential and not-quite-as-essential tools, and of course how to keep it all organized.)


![]()
![]()
![]()