Sewing Project Variation: The Dany Two Piece

YOU GUYS. This sewing project variation has been in the works for a while now.. And I am SO EXCITED to finally put together a post about it! A few very important things to note about this particular project:
- The reason WHY this sewing project variation has been in the works for so long is because.. I am turning it into a DIY sewing project kit! Soon enough, you guys will actually be able to buy the sewing pattern that I used to create this project.. And make your very own! Pretty cool, right?
- The original sewing project that this variation is based off of is the Dany Sheath.. Without a doubt my very favorite sewing project we have done here on the blog. (Although this variation might be giving the OG Dany a run for her money!)
This post is only the second (ever) in our sewing project variation series--The first being a variation on the Ilma Raglan. I love this series because we go way back to favorite past designs.. And tweak them in ways so that the garment has a completely different look.
Although I feel like when I did the Ilma Raglan variation, the tweaks were definitely a bit more subtle. You could still pretty much tell that the updated design was pulled from the Ilma. It was different enough--But not so much that you would be shocked the two garments came from the same design. Yet with this sewing project variation..

The original Dany Sheath is a loose fitting, sleeveless sheath dress that falls just above the knee. Princess seams front and back angle in horizontally to meet at the side seams--Leading to those big, beautiful pockets front & center.
Because you guys know how much I love pockets.
Any design that I was going to build a DIY sewing project kit around HAD to have some unique, beautiful pockets. (Quite literally non-negotiable.)
(The sewing tutorial for the original Dany Sheath walks you through how to sew with stripes--Because no one likes mismatched stripes. Seriously. Grab your printable tutorial today and never wear mismatched stripes again!) 


Let me count the ways in which this sewing project variation is different from the original Dany:
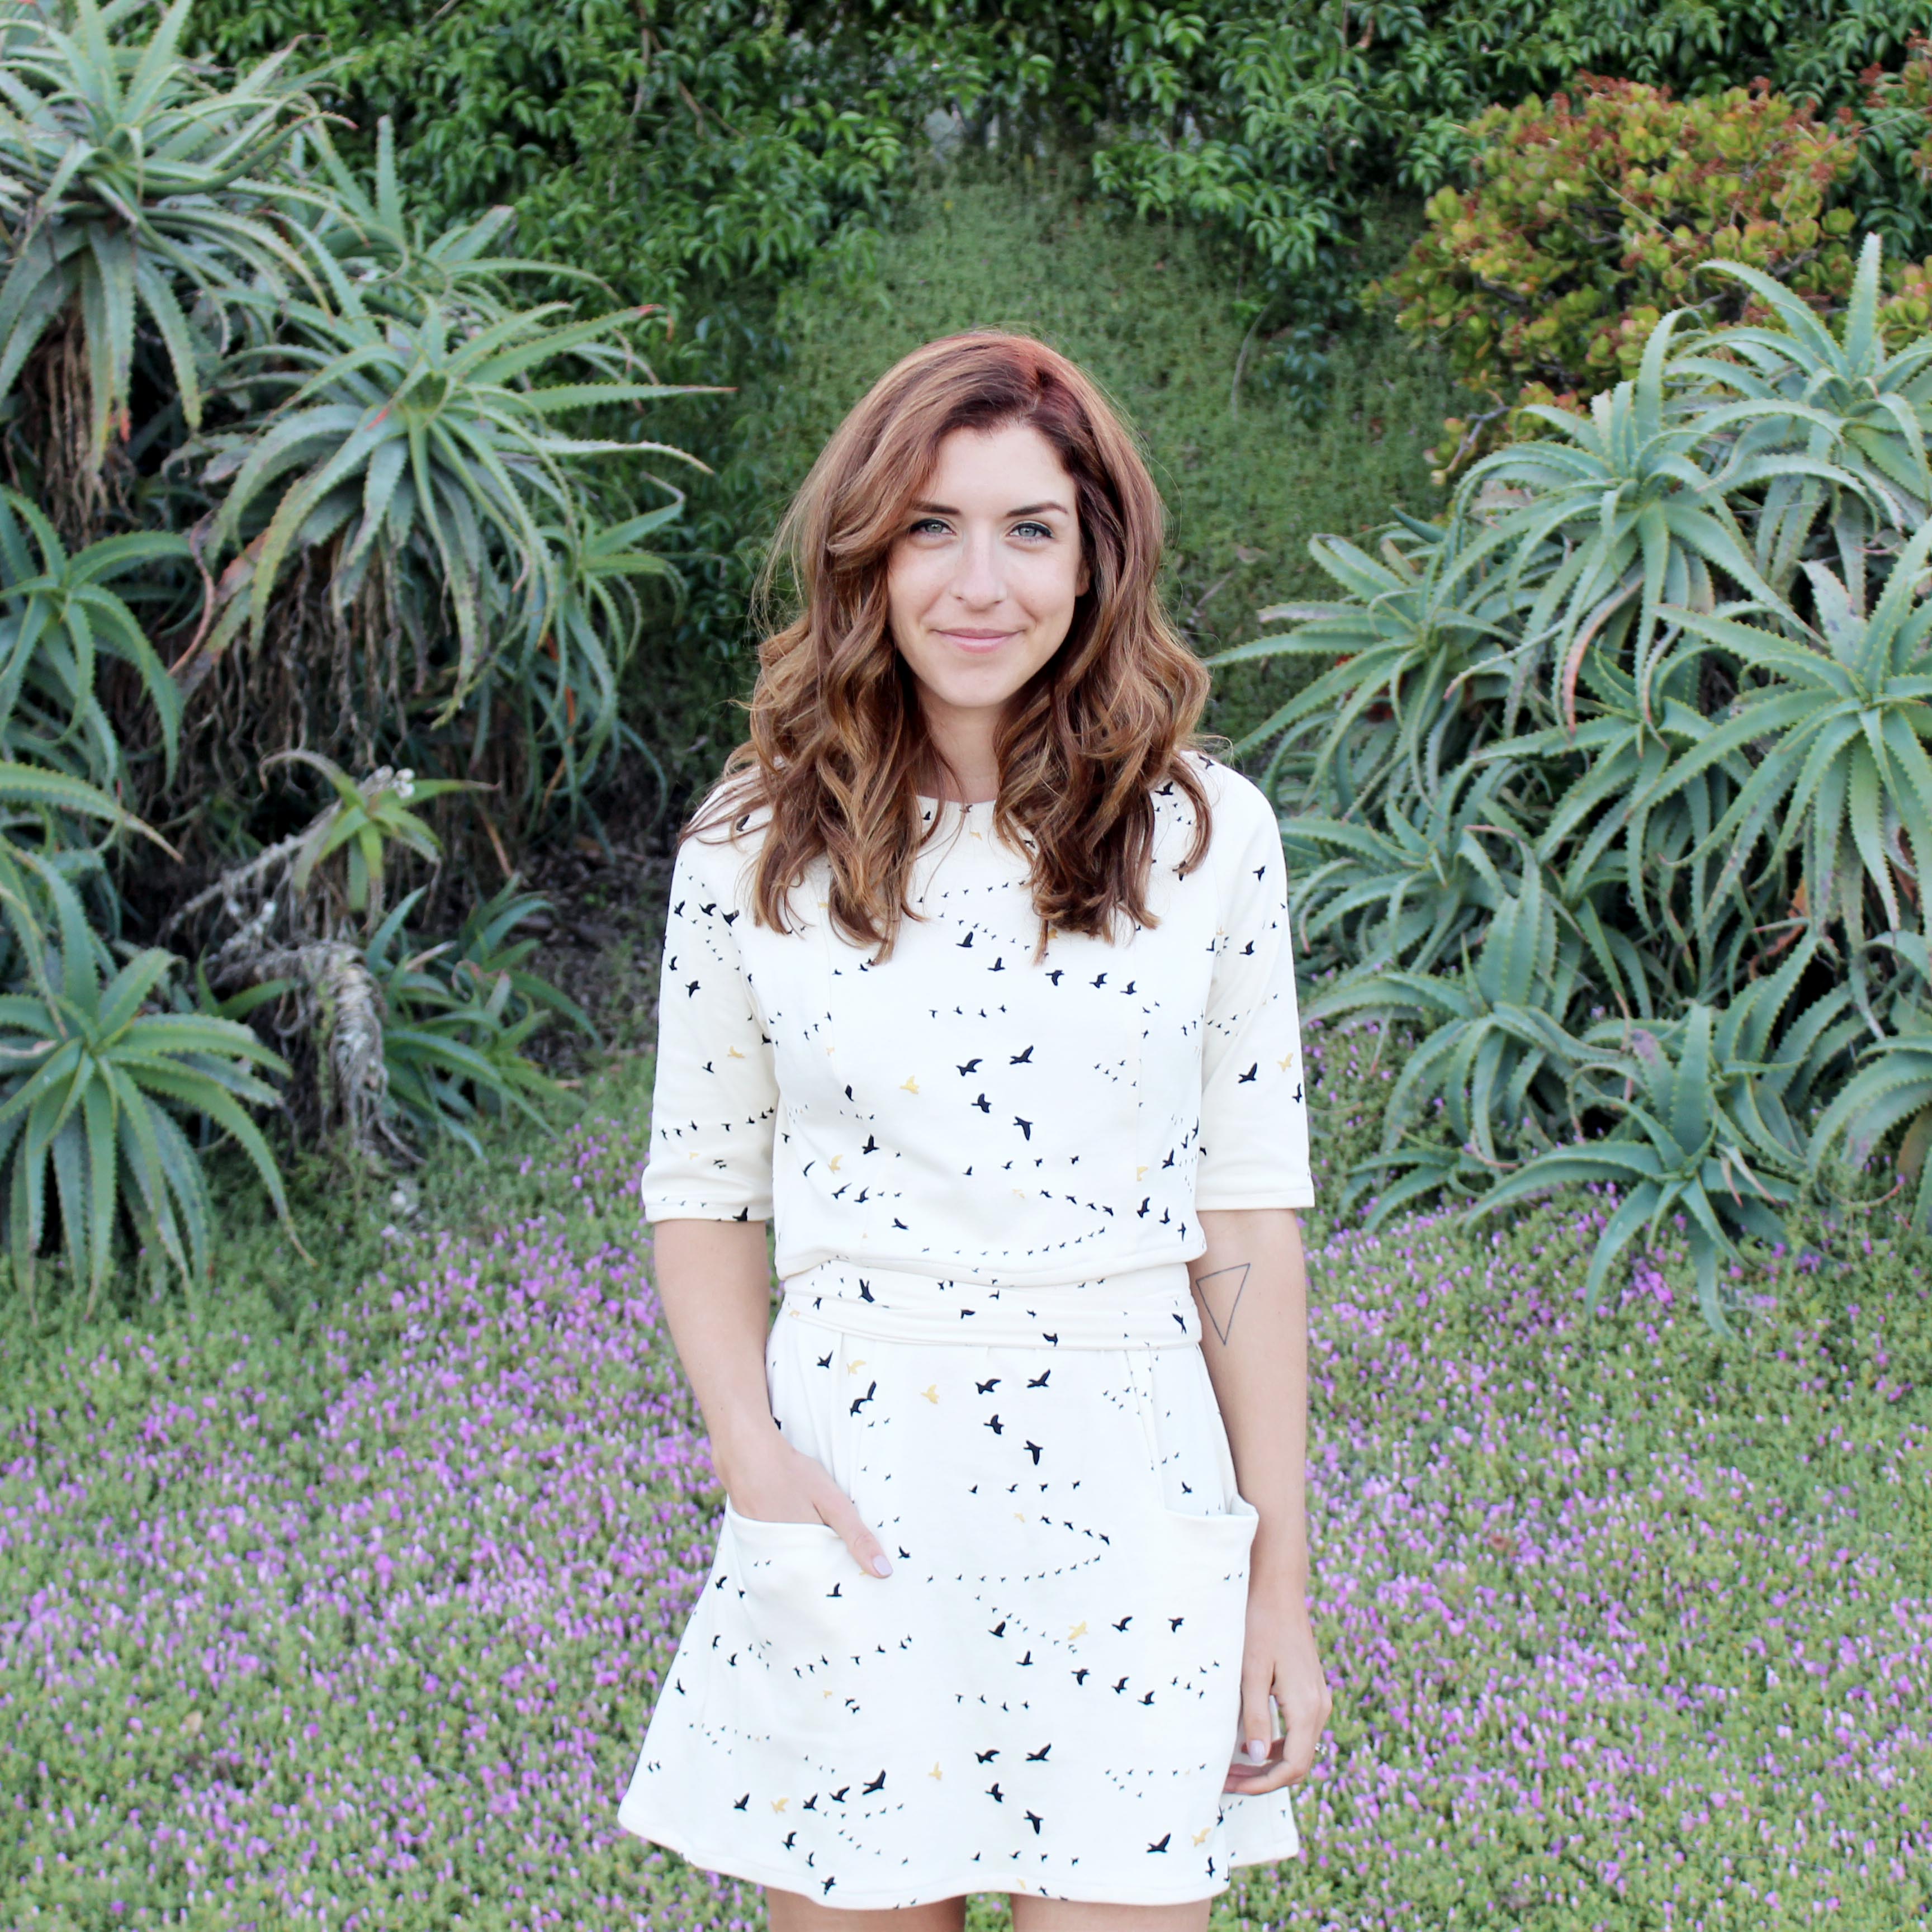
- This design is a matching two piece! (Definitely the biggest, most obvious change to the original design.)
- The Dany Two Piece has an updated silhouette. While the crop top still has a nice, loose fit, the high waisted skirt is perfectly fitted. (I will forever love the combo of contrasting a loose silhouette with a fitted one. SO flattering.)
- Helloooo short sleeves! The Dany Two Piece could actually be sewn with or without sleeves--But I think I like it best with the sleeves.
- Also say hello to shorter hemlines: I feel like a two piece just looks so much cuter with a slightly hitched up hem.
I actually came up with the idea of the Dany Two Piece when I was working on a new fabric sample for the DIY kits. Originally, the DIY kits were just going to be for the Dany Sheath--With a few slight variations to each style option. And trust me friends.

(Think: The right price point, but still sustainable, yet one that also works well with the design. Not so easy.) So I was sewing up a new sample of the original Dany, in a solid knit fabric. And I spent SO much time on it, thinking that this fabric was going to be THE ONE. I knew it. Then I tried the sample on.. And it just fell flat.
Like, it was literally the most boring thing I had ever worn.
Which was a bit shocking to me, because of how much I LOVE the original Dany in her navy blue stripes. (But really, is it possible to hate any design that involves stripes?)
(The sewing tutorial for the original Dany Sheath walks you through how to sew with stripes--Because no one likes mismatched stripes. Seriously. Grab your printable tutorial today and never wear mismatched stripes again!) 


So I decided to try and jazz up the design by tying a belt around the waistline.. And then it hit me. A MATCHING TWO PIECE. Right then and there, I literally just cut the dress in half. And the rest is history.
I drafted up some sleeves, a waistband, and some cute little side ties to help accentuate that hourglass figure.
And I also decided on a different way to close up the armholes and neckline, which I was a bit unsure on. With the original Dany, I was able to just hand stitch all of the raw edges closed.

And it looked great. But when I did that with the above sad sample, it just looked horrible. I think hand stitching the raw edges worked with the original Dany because the fabric had a bit of a heathery look to it--As well as those stripes. So I think both of those things make it so that the hand stitching isn't really visible.
But when working with a solid knit.. Those tiny hand stitched pinpricks are 100% visible. And they did not look good. So I went back to the drawing board, and landed on using a facing to close off the neckline. (And armholes if not adding sleeves to the design.)
Now, I am not the biggest fan of facings--I would much rather just line the garment. But I think when just sewing up a cute little crop top like on the Dany Two Piece, it works perfectly!
(The sewing tutorial for the original Dany Sheath walks you through how to sew with stripes--Because no one likes mismatched stripes. Seriously. Grab your printable tutorial today and never wear mismatched stripes again!) 


Now, as for the fabric of the Dany Two Piece sewing project variation. As I stated above, I used a midweight striped knit for the original Dany. And it seriously worked PERFECTLY. I don't think I have ever picked the right fabric for the right project as well as I did for the Dany Sheath. Seriously spot on.
So I wanted to continue the trend of sewing the Dany Two Piece in a knit, since it worked so well with the original design.
I picked up this beautifully buttery organic cotton knit from Birch fabrics when I was up visiting my mom in Paso Robles a few months back.. And I seriously love it you guys.
If you have been following the blog and any of our sewing projects, you know I'm not a big print girl. (Literally: The post we did on how to match printed fabric was when I sewed up a Hawaiian shirt for my husband.. I just don't typically do prints.)

It is so simple--Just flocks of birds flying across the fabric. And I love the black & metallic gold stamped on the cream. Such a classic color combo. Also--This organic cotton knit by Birch is, without a doubt, some of the most beautiful fabric I have ever worked with. It is so soft and buttery, I absolutely loved working with it. It cut well, sewed well, pressed well. Just an overall perfect fabric to work with.
Before making any final fabric decisions, I will be sewing up a few more samples of the Dany Two Piece this week, in a few other fabrics. Liiiike stripes (of course) and this beautiful solid teal in the softest Tencel fabric EVER.
I'm actually really incredibly excited to see how the additional samples turn out.. Stay tuned for the release of the DIY sewing project kits! Hoping it will be in the next 2-3 weeks.. Fingers crossed. Would you guys love this fabric/print combo for the final DIY sewing project kits? Let me know your thoughts below!
(The sewing tutorial for the original Dany Sheath walks you through how to sew with stripes--Because no one likes mismatched stripes. Seriously. Grab your printable tutorial today and never wear mismatched stripes again!) 


