How To Sew A Sleeve: The Madeline Jacket Sewing Tutorial

And just like that, we have a brand new sewing tutorial! This week we are covering how to sew a sleeve--Because it's actually pretty easy to sew a sleeve in the wrong way. (Much easier than you would think!)
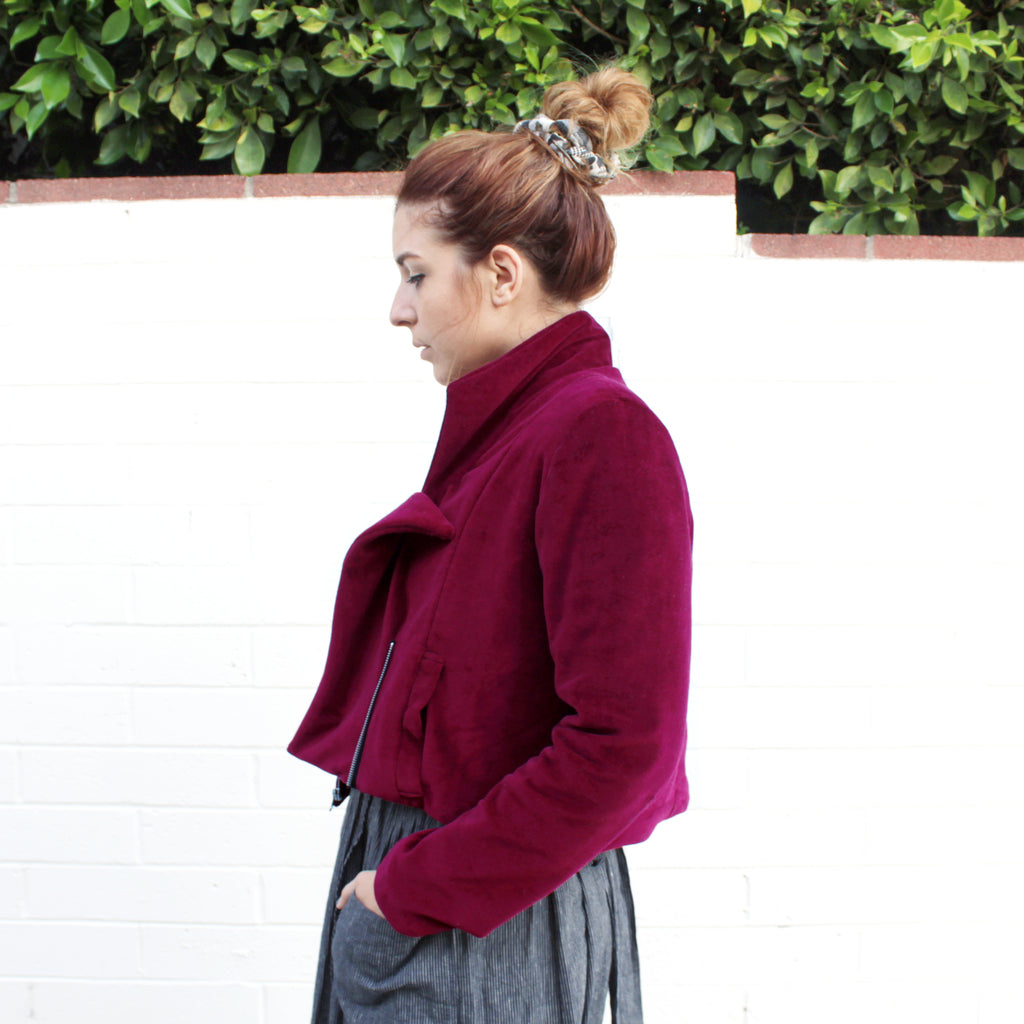
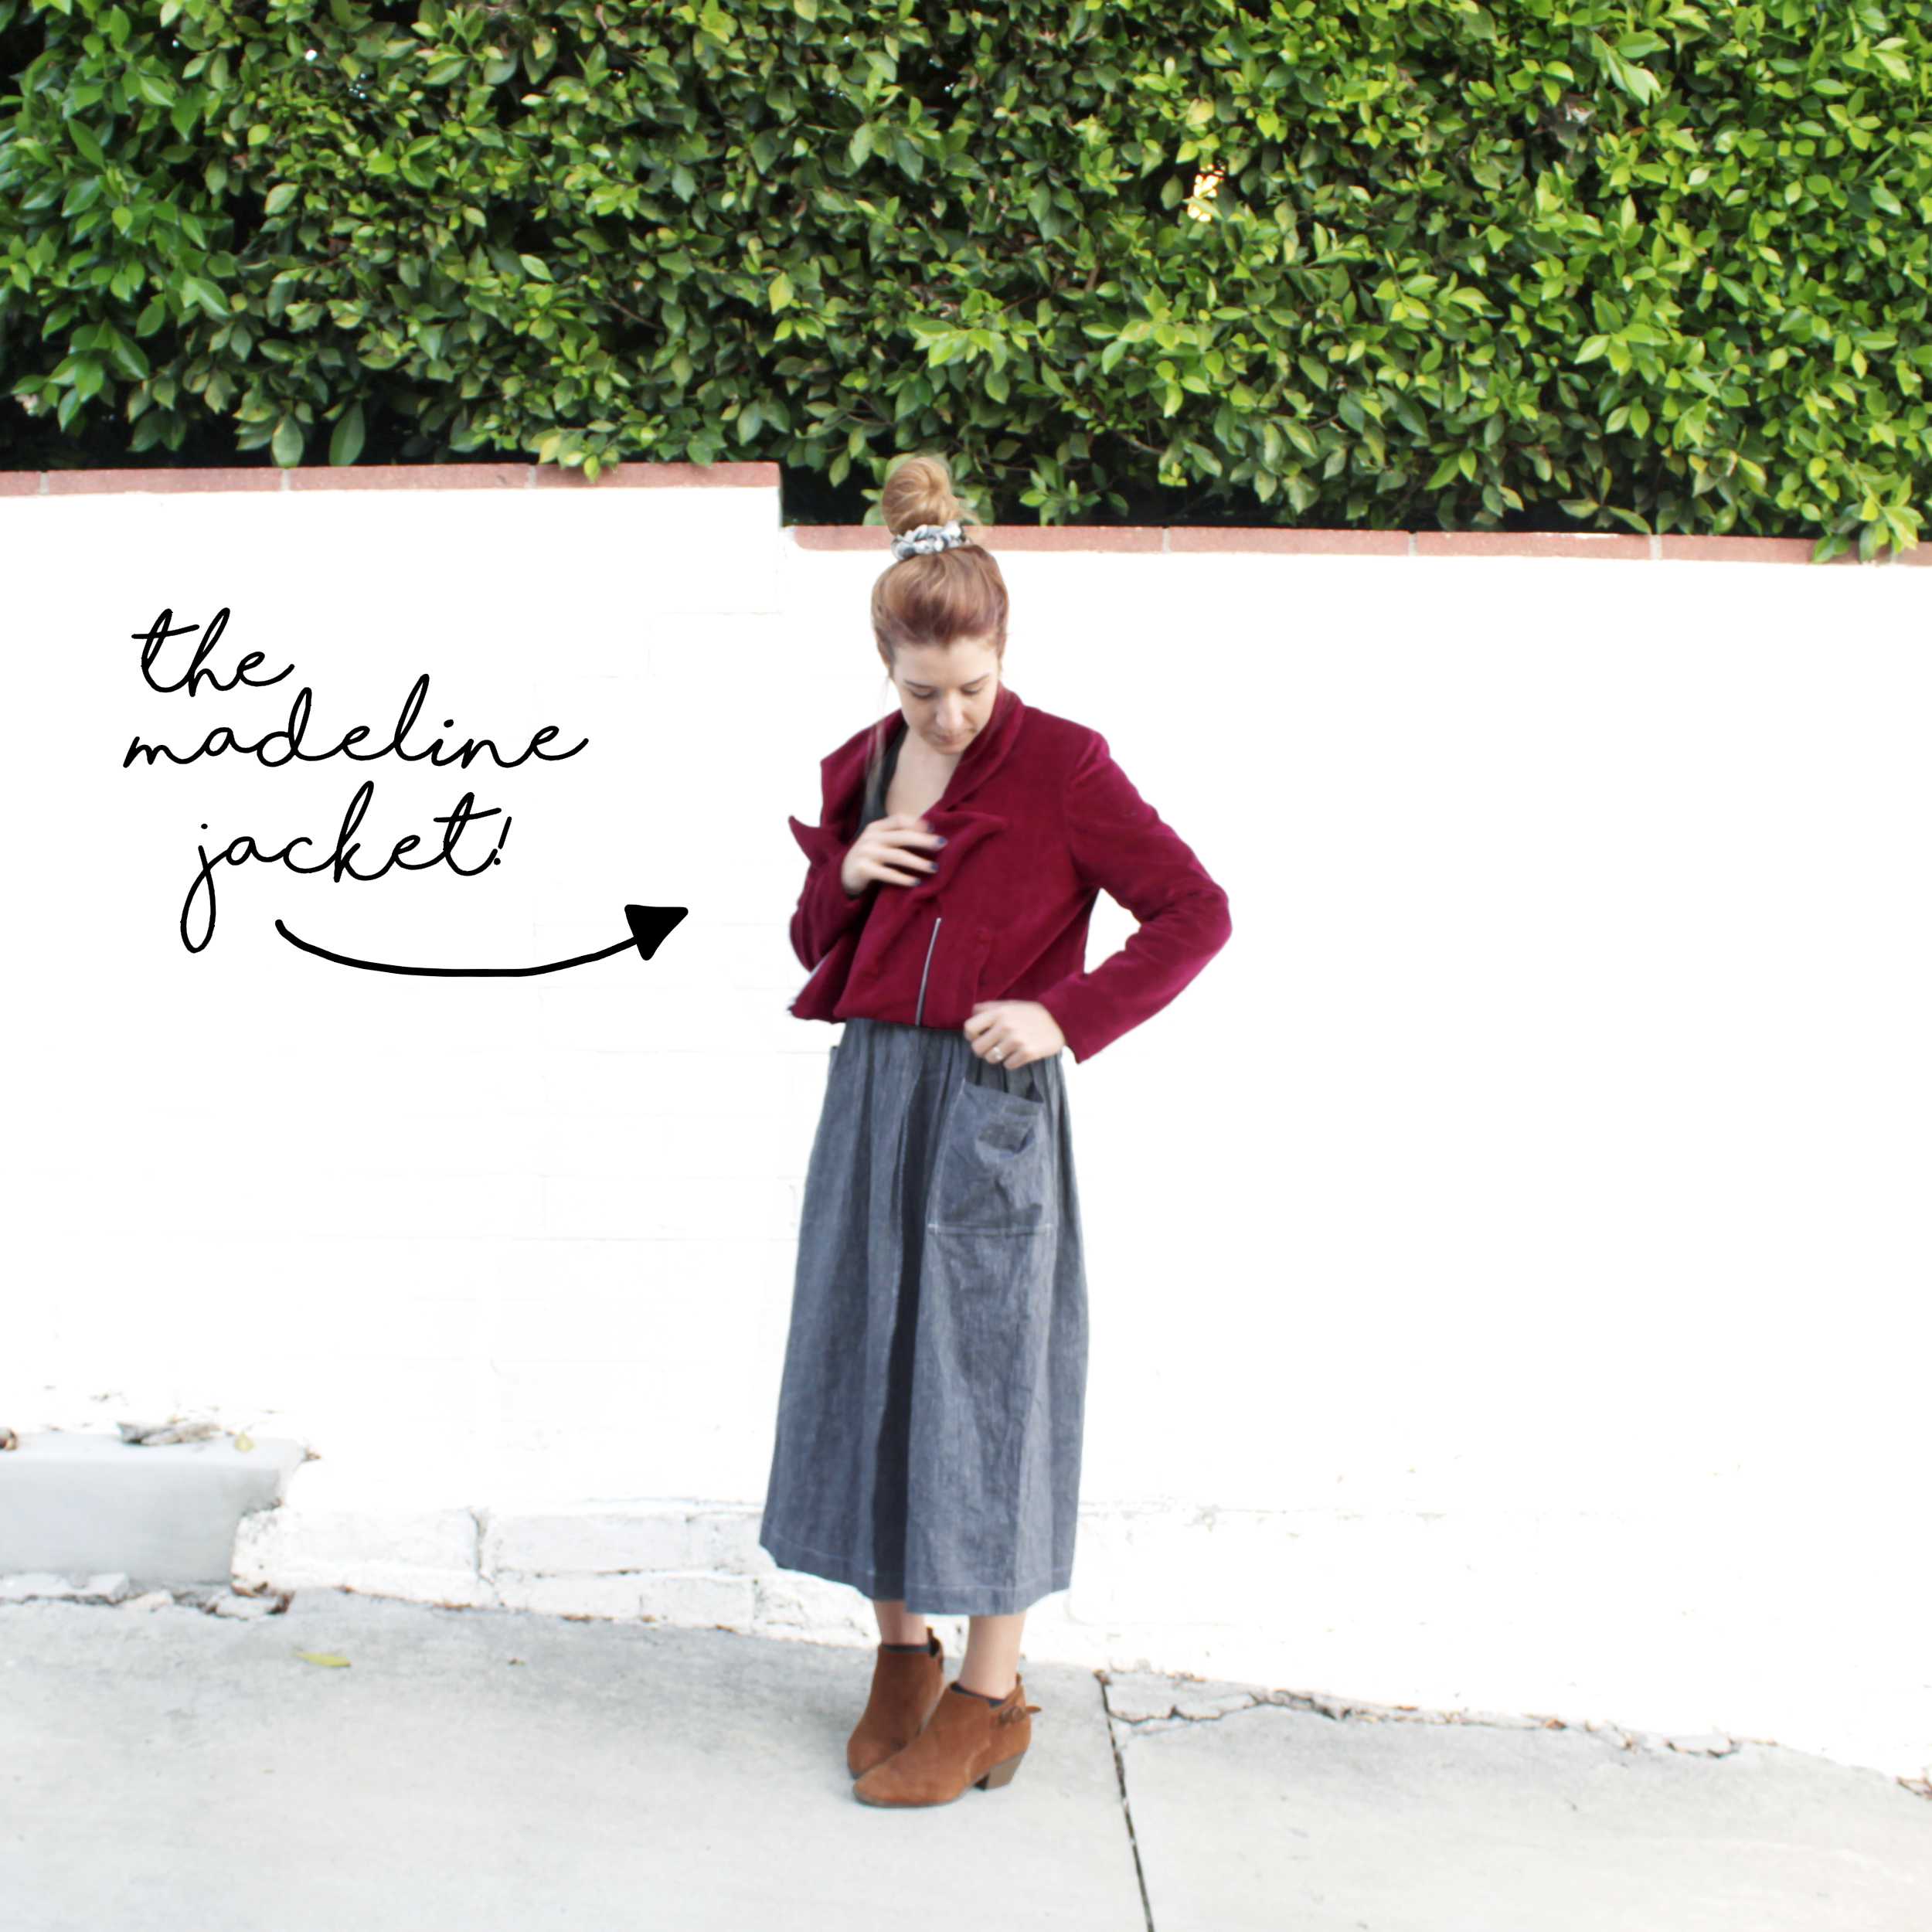
While the sleeve I sewed for this tutorial is based off of a two-piece jacket sleeve, the same steps can pretty much be applied to any basic sleeve out there. A two-piece jacket sleeve, like the one on the Madeline Jacket, simply has more steps involved. (Because of the lining, adding in the shoulder pads, etc.)
So if you're sewing a basic sleeve for a shirt or a dress, you can just skip those additional steps. Easy!
But first--Let's talk about what types of sleeves are actually out there. Most sleeves fall into four main categories:
- Set-In Sleeves: These sleeves are completed before they are set into the round armhole of the garment. (This is the sleeve we will be covering how to sew! Also it's the most common type of sleeve out there.)
- Shirt Sleeves: A sleeve that is stitched to the armhole while both the sleeve underarm and the garment side seams remain open. (I have never sewn this type of sleeve in my life, but my FIDM textbook said it exists. So I'm including it!)
- Raglan Sleeves: These sleeves are sewn into a front and back diagonal seam that extends from the armhole up to the neckline. (i.e. Like on the Ilma Raglan, remember her?)
- Kimono Sleeves: This is the only type of sleeve that doesn't require a traditional, round armhole. The sleeve is cut in one piece, with a shoulder seam and a side/underarm seam. (i.e. Like on the Mauve Shirt Dress.)
Basic set-in sleeves can be used for pretty much ANY sewing project out there. I'm talking dresses, shirts, jackets, and coats. And there's a reason they can be used for anything--These types of sleeves are easy to sew, and they're highly functional for every day use.
So. Ready to learn how to sew a sleeve the right way? I thought so.
(Want to learn how to sew a sleeve? Not only does our sewing tutorial on sleeves walk you step-by-step through the process.. But it also includes fitting tips & tricks that you can ONLY get in the guide. Download your tutorial today!)
How to sew a sleeve sewing tutorial: Step 1


First, you'll need to prep the sleeve. Pin and stitch the seams of the sleeve, right side to right side.
For a two-piece sleeve, like that on the Madeline, there are two seams to attach the upper and lower sleeve. But for most basic sleeves out there, you'll have just the one seam. If your sleeve has a lining, repeat the process.
Once the sleeves are sewn, press the seams open.
(Want to learn how to sew a sleeve? Not only does our sewing tutorial on sleeves walk you step-by-step through the process.. But it also includes fitting tips & tricks that you can ONLY get in the guide. Download your tutorial today!)
How to sew a sleeve sewing tutorial: Step 2

Along the cap of the sleeve (both the self and lining) stitch a line at 1/4" seam allowance, using a large stitch. (For reference, I used the largest stitch width on my machine.)
Gently pull the threads at either end of the sleeve caps until the cap roughly fits the size of the armhole.
You can adjust this later to ensure the fit is perfect!
How to sew a sleeve sewing tutorial: Step 3

Now it's time to close the hem (i.e. the cuff) of the sleeve. If your sleeve doesn't have a lining, then just fold the hem over and stitch it closed.
If your sleeve does have a lining, then pin and stitch the hems of the self and lining together, right side to right side. Make sure to match all seams! Then press the cuff open.
NOTE: I highly recommend making sure the lining is correctly in place before stitching. Once pinned, simply turn the sleeve inside out to make sure the raw edges of the self and the lining are enclosed within one another. It's not fun ripping stitches out, and is easier just to make sure everything is correct prior to stitching.
(Want to learn how to sew a sleeve? Not only does our sewing tutorial on sleeves walk you step-by-step through the process.. But it also includes fitting tips & tricks that you can ONLY get in the guide. Download your tutorial today!)
How to sew a sleeve sewing tutorial: Step 4


Now it's time to attach the sleeve to the garment. Pin the outer self sleeve to the armhole, making sure to match notches. If needed, pull those loose threads to adjust the tension of the sleeve cap, to ensure it fits perfectly in the armhole.
BEFORE STITCHING, make sure you have the correct sleeve on the correct side. (i.e. The left sleeve with the left side & the right sleeve with the right side.)
To test this, simply hang the garment on a mannequin (or a hanger) and look at how the sleeve is hanging. At the elbow, there should be a slight forward bend, almost like there is an invisible arm inside of it. If the sleeve is moving towards the back of the garment, IT'S ON THE WRONG SIDE.
Once you are sure the correct sleeve is on the correct side, stitch the sleeve to the armhole. Repeat with the lining sleeve and armhole, then press the seams open.
NOTE: I also recommend stitching the upper half of the armhole seam allowances together. This simply keeps the sleeve from moving, and provides some additional stability for the shoulder. Make sure to stitch the seam allowances towards the sleeve, NOT THE NECK.
How to sew a sleeve sewing tutorial: Step 5


If sewing a jacket or a coat, I would also highly recommend adding in some shoulder pads. And NO, I don't mean those massive shoulder pads your mother wore in the 80's. I'm talking a sweet little 1/4"-1/2" pad that will just give your shoulder a little confidence boost.
Get an idea of where you'd like to place the shoulder pads--Ideally as close to the armhole seam as possible. Move the pad in between the outer shell and the lining, then pin in place.
Once the shoulder pad is pinned in place, simply tack it to the raw seams of the garment. (I would recommend tacking in 2-3 places, so that the pad doesn't shift around.)
NOTE: If sewing a top or a dress, you can most likely just skip this step. (Want to learn how to sew a sleeve? Not only does our sewing tutorial on sleeves walk you step-by-step through the process.. But it also includes fitting tips & tricks that you can ONLY get in the guide. Download your tutorial today!)
How to sew a sleeve sewing tutorial: Step 6

And finally.. I would also highly recommend tacking the cuff of the sleeve. This is pretty much essential if sewing a jacket or coat sleeve that has a lining--Less so if just sewing a sleeve for a blouse or a dress.
To tack, simply back stitch a few times along the seam line of the cuff, attaching both the self and the lining together. I recommend tacking the cuff in 4-5 spots throughout the cuff, just so that it doesn't flop around.
Tacking the cuff of a coat or jacket can have such a tremendous impact on the garment. I remember in NYC, when I was doing all of the repairs on coats, this was one of the first things I would do.
It simply keeps the cuff where it needs to be, and it's quick, so just do it! But again--If not sewing in a sleeve lining, this step probably isn't necessary.
So. Ready to sew some sleeves?

While I know sleeves aren't really a "sexy" topic when it comes to sewing.. They're pretty much a necessity.
Half of the year, we can't really live without them. And I feel like if a sleeve is sewn in wrong.. You can pretty much tell right away. It's uncomfortable, and just doesn't feel right.
This is especially true when sewing the wrong sleeve on the wrong side of the garment. Prior to learning how to sew a sleeve at FIDM, I never paid attention to which sleeve I sewed on which side. Which resulted in the sleeve twisting when I wore it, and it just felt off. But I say no more!

I remember when I sewed my first beautiful sleeve. It was just sitting there on the mannequin: Perfection.
And I couldn't stop staring at it. It's kind of amazing how something so simple, the rounded armhole of a sleeve, can be so beautiful.
And like I said--You don't have to be sewing a jacket or a coat for this tutorial to work for your project. You could be sewing a shirt, or a beautiful Spring dress. (Because you know, Spring is coming.)
Show me your beautiful sleeves, I would love to see them!
(Want to learn how to sew a sleeve? Not only does our sewing tutorial on sleeves walk you step-by-step through the process.. But it also includes fitting tips & tricks that you can ONLY get in the guide. Download your tutorial today!)


![]()
![]()
![]()