How To Sew A Dress Lining: The Tartt Racerback Sewing Tutorial

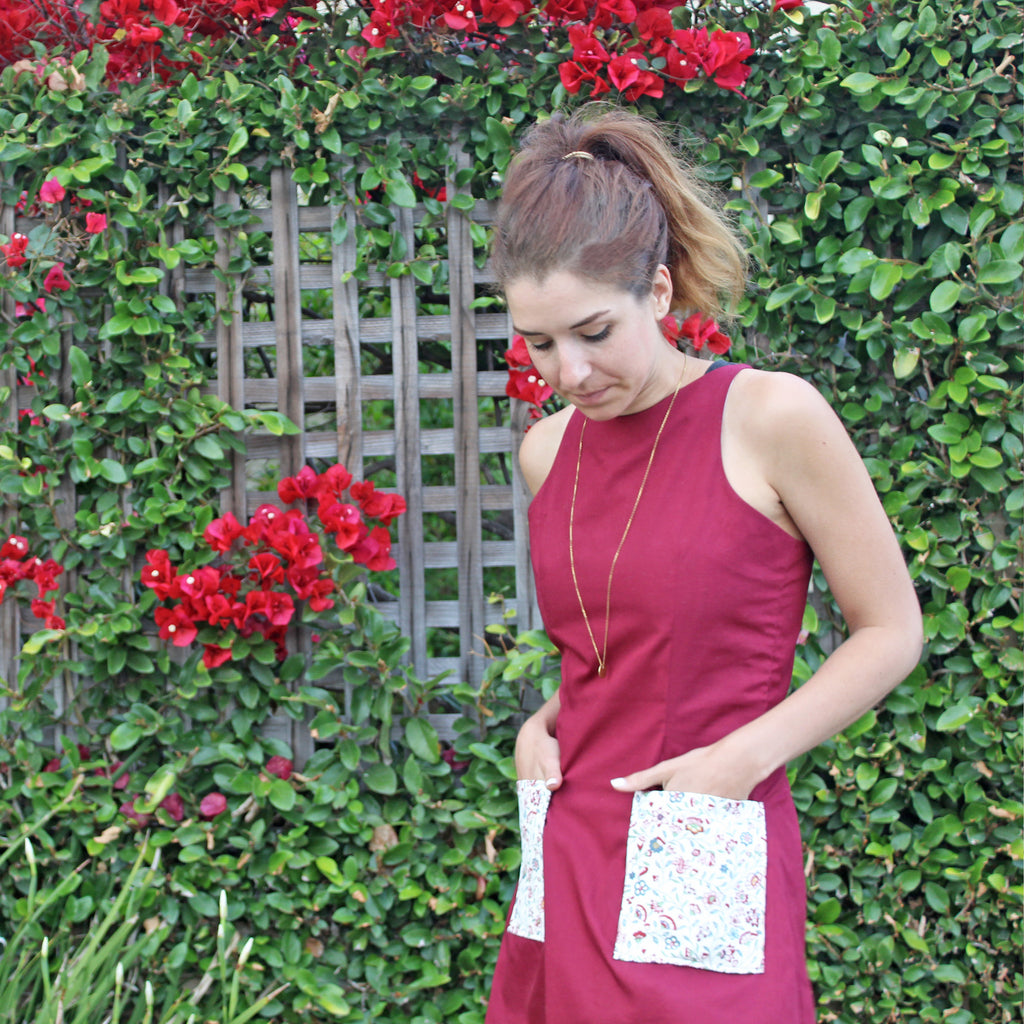
So. You've seen the Tartt Racerback and you love love it, right? Me too! With this month's sewing tutorial, we are delving into the world of how to sew a dress lining.
And keep in mind: Your dress doesn't have to LOOK like the Tartt for this sewing tutorial to be useful for you.. It could work for any number of sewing projects.
But first.. You may be wondering why I would make a sewing tutorial on how to sew a dress lining in the first place. Excellent question.
My first and favorite reason for any sewing tutorial that I make for you here on The Flora Modiste is because I find traditional sewing pattern instructions to be so. goddamn. confusing. And if you have ever sewn up a pattern from a traditional pattern maker (Think: Simplicity, McCall's, etc.) then you KNOW how confusing they are.

It's like, whoever's job it is to write sewing pattern instructions has a big sign on their wall, directly in front of their desk, that says: "MAKE SEWING PATTERN INSTRUCTIONS AS DIFFICULT AS POSSIBLE TO UNDERSTAND."
Like, why?
(Ready to learn how to sew a dress lining? Grab your step-by-step printable tutorial today! It's the perfect sewing companion.) 


I've been sewing for 10+ years. And I STILL have a hard time understanding sewing pattern instructions from traditional pattern makers. Half the time I glance a them, get frustrated, and just forget them entirely and figure it out myself. Anyone else know the feeling?
But really. My goal in making this sewing tutorial is that if you need to add a dress lining to a particular sewing project, that it will help you out more than traditional instructions ever could.
Or maybe you have a dress at home that could really use the additional support from adding a lining in?

But either way, I hope that this tutorial will help you. There are a few criteria that your sewing project should meet, in order for this tutorial to benefit you the most.
And those criteria are the following:
- The dress needs to be sleeveless.
- The dress should have a zipper closure. (Back, front, side zipper--It doesn't matter.)
- The dress should NOT be strapless.
And that's it! Not too many points, right?

But again, keep in mind: Your dress doesn't have to LOOK like the Tartt for this sewing tutorial to work for you.
While it does need to meet the above requirements, your dress could be a maxi. Or it could be a loose, boxy shape. Or it could be 100% tailor fitted. It could even be pocketless! (But really, who wants to live without pockets?)
So. Still with me? Let's get started with the sewing tutorial!
(Ready to learn how to sew a dress lining? Grab your step-by-step printable tutorial today! It's the perfect sewing companion.)
How to sew a dress lining sewing tutorial: Step 1
So. To start, I am going to assume that you do NOT already have a lining pattern. If you do have a lining pattern, then you can go ahead and skip this step!
To create the lining pattern, simply trace the self pattern pieces on to a clean sheet of pattern paper. Make sure to either pin your pattern in place, or to hold it down with weights to ensure that it doesn't move while you are tracing it.

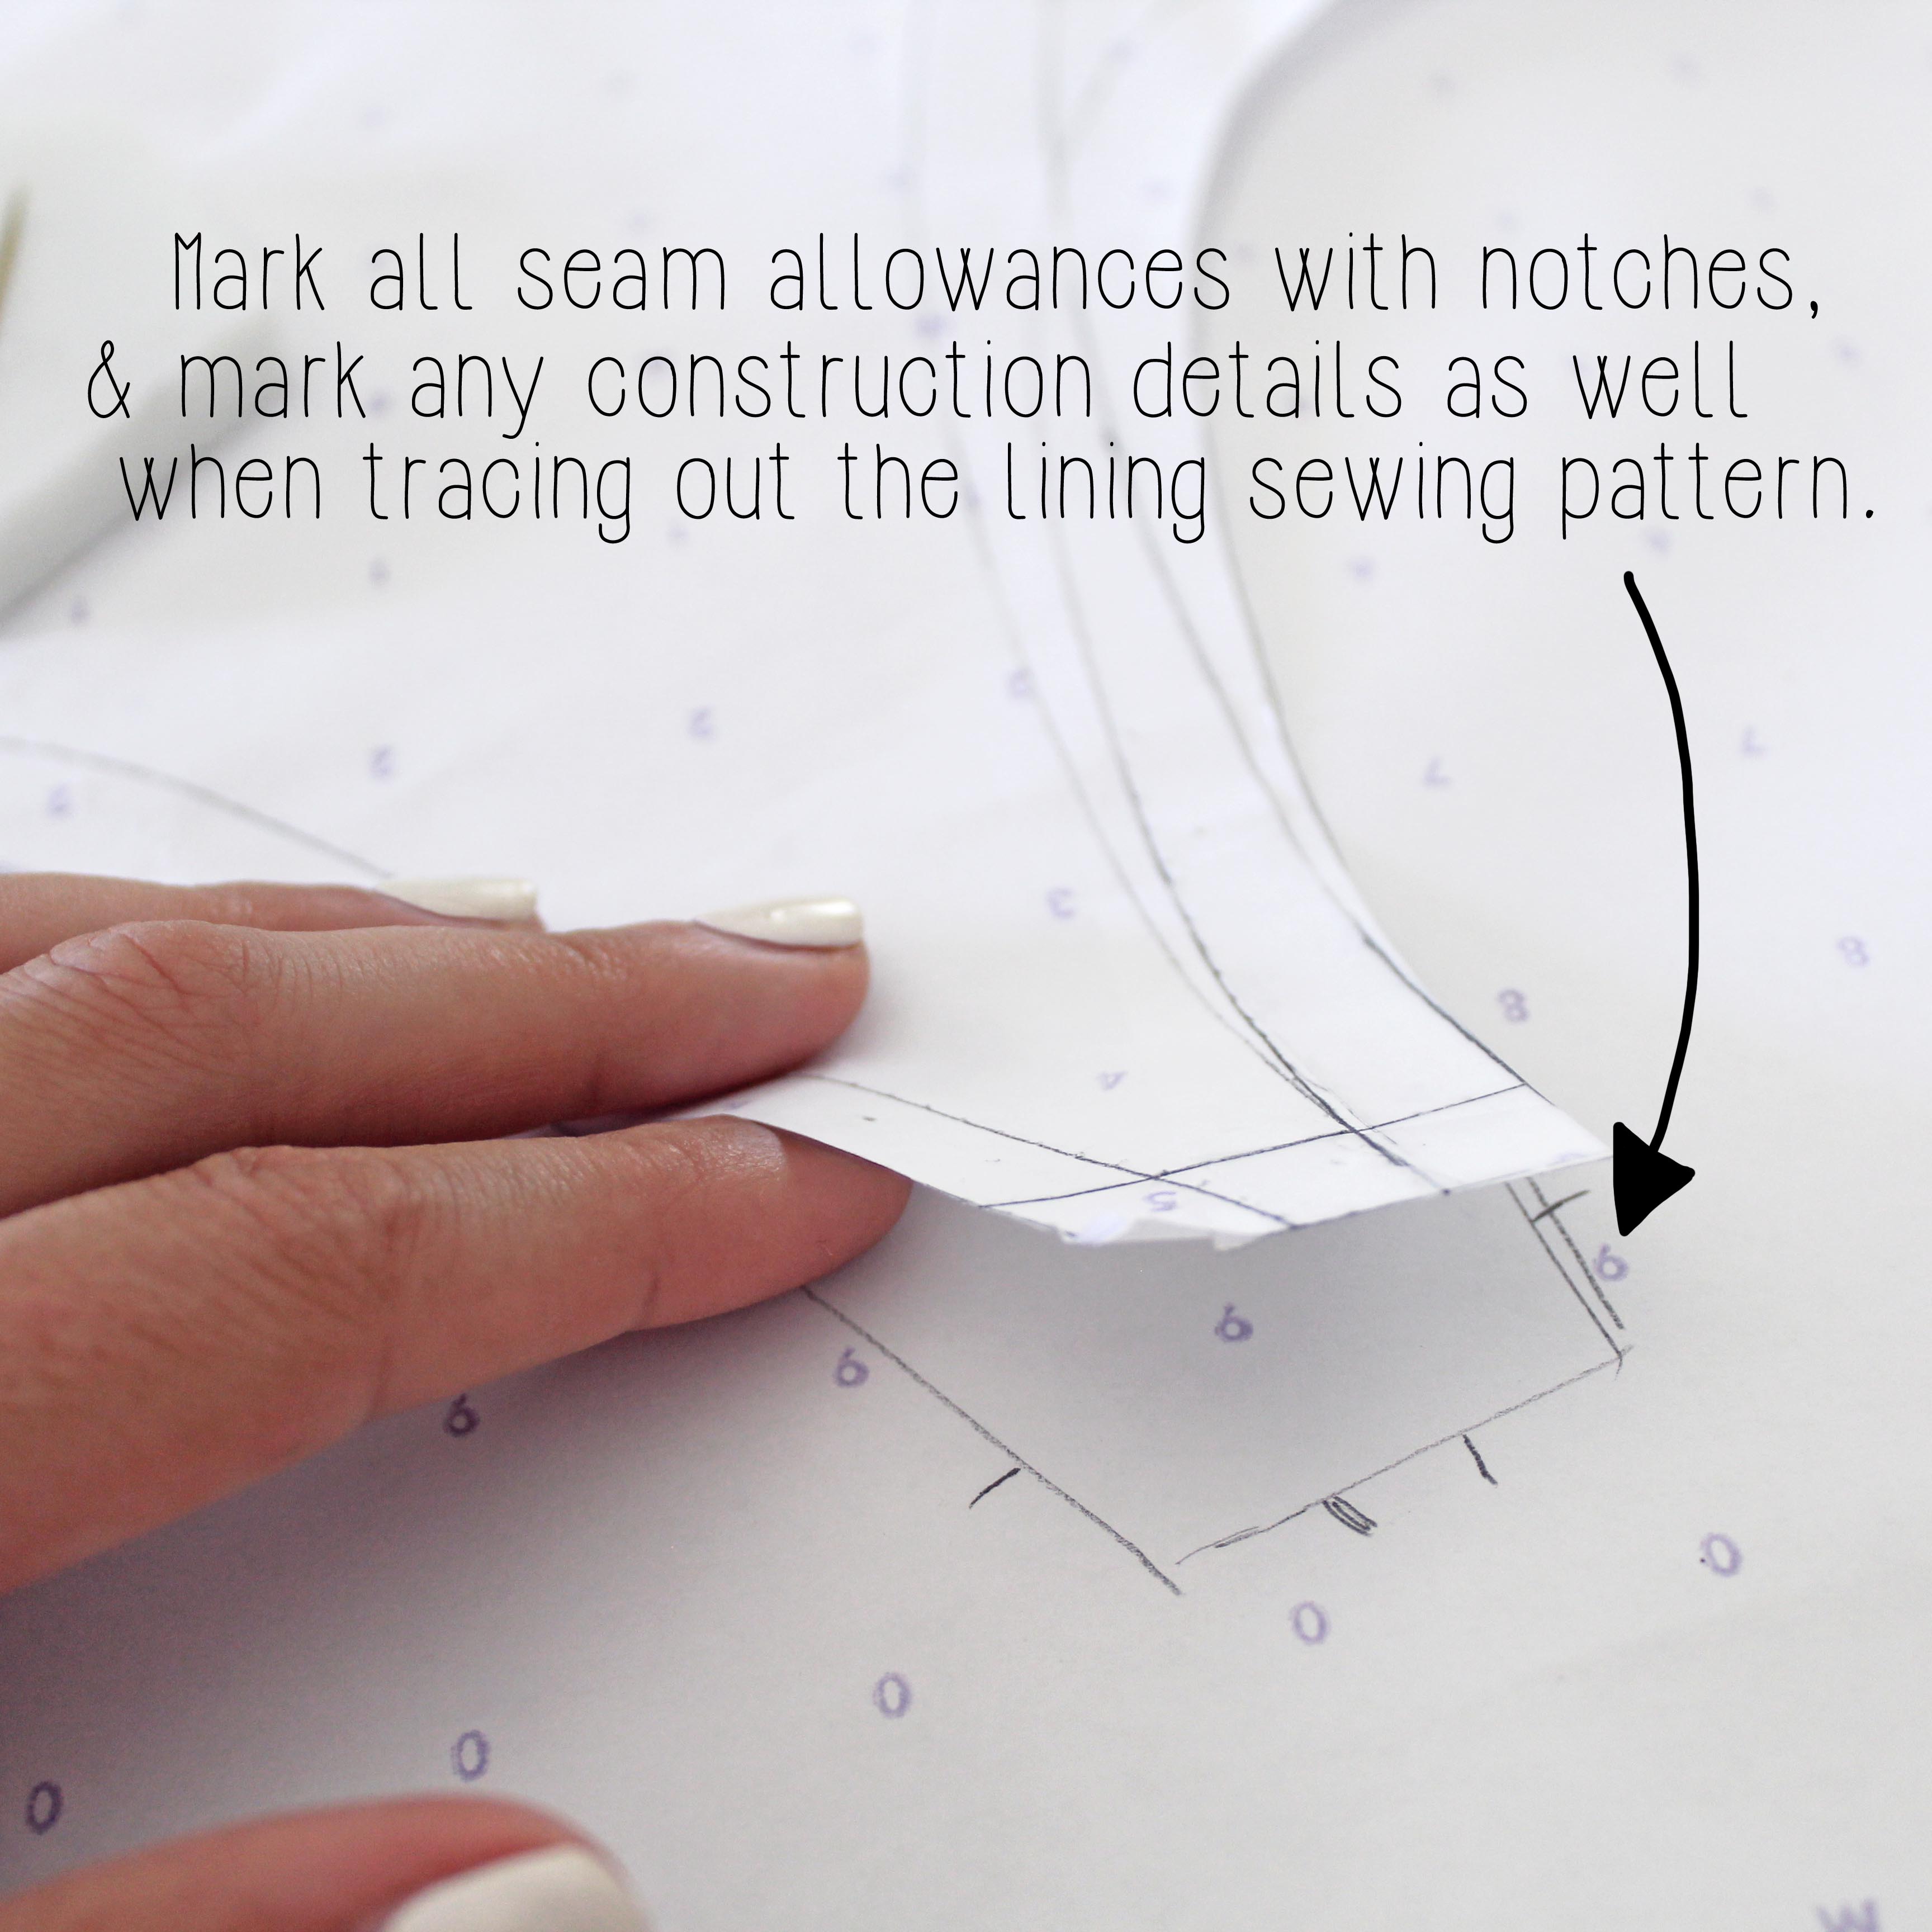
Also make sure to mark all of the seam allowances with notches, as well as all construction details. (Think: Darts, pleats, tucks, etc.)
NOTE: If you have an asymmetrical design, make sure to turn your pattern UPSIDE DOWN and trace.
How to sew a dress lining sewing tutorial: Step 2
Once you have the rough shape for the lining pattern drawn out, it's time to clean it up.
Blend all of the lines so that they are smooth and even. Draw out all of the seam allowances, following the notches from the previous step. Also make sure to draw out any construction details.

Once you have a complete lining pattern, cut the paper pieces out.
(Ready to learn how to sew a dress lining? Grab your step-by-step printable tutorial today! It's the perfect sewing companion.)
How to sew a dress lining sewing tutorial: Step 3
Pin all of the self pattern pieces to the self fabric. And pin all of the lining pieces to the lining fabric. (Don't forget interfacing, if you are using that!)
Once everything is pinned, cut it all out.

And make sure to mark all of your notches, as well as all construction details. We don't want to forget anything!
How to sew a dress lining sewing tutorial: Step 4
Once all of the pattern pieces are cut out, it's time to start sewing!
If you have any interfacing pieces, iron them on to the wrong side of the self fabric, before sewing. (For the Tartt, I added interfacing around the neckline, armholes, and the center back zipper closure seam.)
Sew together as much as possible of the self pattern, WITH THE EXCEPTION OF SEWING THE SHOULDER SEAMS TOGETHER.
Next, sew together as much as possible of the lining pattern. And yes: WITH THE EXCEPTION OF SEWING THE SHOULDER SEAMS TOGETHER.


Why not the shoulders? Because that's how we are going to close the dress up later on.
NOTE: I prefer to keep the clean side of the lining (i.e. No darts, seams, etc.) facing my body when I'm wearing a dress. Which means it needs to be sewn the opposite way of the front, so that all seams face one another. But the choice is yours!
(Ready to learn how to sew a dress lining? Grab your step-by-step printable tutorial today! It's the perfect sewing companion.)
How to sew a dress lining sewing tutorial: Step 5
Press all of the seams for both the self and lining pieces open. And once everything is pressed, serge any raw edges together.

I prefer to use a serger, just because it's quick and clean.
However, you could always finish the raw edges off with another method, it's really your choice. (Think: French seams, bias binding, etc.) But really, serging raw seams closed is just the easiest option.
How to sew a dress lining sewing tutorial: Step 6
And now it's time to connect the lining to the self.
Pin the front neckline of the lining to the front neckline of the self, right side to right side. (Make sure to match your notches!)
Sew the front necklines together. Repeat with the back necklines.


AND REMEMBER: Shoulder seams should still be open. Do not attach them yet.
(Ready to learn how to sew a dress lining? Grab your step-by-step printable tutorial today! It's the perfect sewing companion.)
How to sew a dress lining sewing tutorial: Step 7
And with the front and back necklines of the self and lining sewn together, it's time to press them open. Once they have been pressed open, press the entirety of the seam allowance towards the lining.
Trim the seam allowance by about half. After trimming the seam allowance, understitch the allowance to the lining.
This helps to keep the lining from rolling to the front of the dress while you are wearing it.


NOTE: Make sure to understitch both the front and back necklines.
How to sew a dress lining sewing tutorial: Step 8
Next, pin and stitch the self armholes to the lining armholes, right side to right side. Do this for both the front and back armholes.
As with the necklines, press the seams open after they have been stitched. Then press the seam allowance towards the lining and trim by half.
And finally, understitch the seam allowance to the lining side of the armholes. Press one more time.


(Ready to learn how to sew a dress lining? Grab your step-by-step printable tutorial today! It's the perfect sewing companion.)
How to sew a dress lining sewing tutorial: Step 9
And finally, it's time to close the shoulder seams. Pin the shoulders together, keeping the raw edges tucked inside the straps.

I chose to hand stitch my straps together, since they were so tiny. But you could always just machine stitch over the straps as well--The choice is yours! It really just depends what look you're going for.
The overall goal is just to ensure that the straps are secure, and that they won't fall apart while wearing the dress.
How to sew a dress lining sewing tutorial: Step 10
Lastly, it's time to close up that pesky zipper. While I used a center back zipper for this tutorial, the same instructions could apply for a side or front zipper.
First, pin and stitch the zipper tape to the self of the dress, using 1/4" stitch. This is just to attach the zipper to the dress.
Next, pin the lining to the zipper tape, sandwiching the raw edge of the tape between the self and lining layers. Stitch the lining to the tape, using 1/4" stitch.


And finally, pin the fabric along the tape to where you want the final look to be. (Pin close to the teeth if you don't want any tape showing. Pin far from the teeth if you would like some tape to show.)
Topstitch through all three layers (Self, tape, & zipper) to secure the zipper in place.
(Ready to learn how to sew a dress lining? Grab your step-by-step printable tutorial today! It's the perfect sewing companion.) And that's it! You have officially added a lining to your dress.

So. Not too bad, right? While a dress lining isn't necessary for every single dress out there, it can definitely add some shape and support to those that need it.
And adding a lining to the Tartt literally TRANSFORMED the dress. It gave it shape and structure, which it was definitely lacking before I added that lining in.
Are you working on adding any dress linings to your sewing projects? I'd love to see what you're working on!


![]()
![]()
![]()


